How to Pack a Rope Bag for Fast Deployment
A well packed rope bag can make the difference between a smooth deployment and a frustrating delay on scene. In rope rescue, rope access, confined space, and emergency response work, the way rope is stored affects how quickly a team can move, how clean the rope stays, and how easily the system can be built when time matters.
The goal is simple. The rope should feed out cleanly, without knots, twists, or tangles, while still being protected during transport and storage.
Why Rope Bag Packing Matters
Rope bags are not just storage containers. They help keep rope organized, protected, and ready for use. A properly packed bag allows the working end of the rope to be accessed quickly, helps prevent unnecessary contamination, and makes it easier to carry rope into difficult locations.
For rescue teams, this matters during high-angle rescue, low-angle rescue, confined-space entry, water rescue support, and standby rescue operations. When the rope comes out cleanly, the team can focus on rigging, patient care, and scene safety instead of untangling rope.
Flaked Packing vs. Daisy Chain Packing
| Flaked Packing | It is often the preferred method for fast deployment. The rope is fed into the bag in loose, even layers, allowing it to pull out smoothly from the top or bottom of the bag. This method is practical for rescue teams because it supports quick rope access and reduces the chance of knots forming during deployment. For most rescue applications, flaking the rope directly into the bag is the better option for speed and simplicity. |
| Daisy chain packing | Sometimes called chain sinnet packing, keeps the rope compact and organized. It can be useful for shorter ropes, accessory cord, or situations where the rope needs to be staged neatly. However, it is usually slower to deploy than a properly flaked rope bag and may not be ideal when rapid rope access is the priority. |
Basic Steps for Packing a Rope Bag
Start by inspecting the rope before packing. Look for cuts, abrasion, glazing, soft spots, chemical exposure, dirt, or anything that may require the rope to be removed from service.
Next, identify both rope ends. Many teams secure one end inside the bag using an internal tie in point, then leave the deployment end accessible at the top or bottom depending on the bag design. This helps prevent accidentally losing the rope end inside the bag.
Feed the rope into the bag by hand in loose, controlled layers. Avoid tight coils, twists, or forcing the rope into the bag. The rope should sit naturally so it can pay out smoothly when pulled.
Once packed, clearly label the bag with the rope length, diameter, rope type, date of inspection, and any team identification. Clear labelling helps crews select the right rope quickly and supports proper record keeping.
Wet Rope Management
Wet rope should be handled carefully after use. If the rope is dirty, muddy, or exposed to contaminants, follow the manufacturer’s cleaning instructions and department procedures. General rope care guidance recommends removing debris, rinsing the rope, using mild detergent when approved, and drying it in a cool, shaded area before long-term storage. Rope should be fully dry before being stored for extended periods to reduce the risk of mildew, odor, and material degradation.
If rope must be transported while wet, use a rope bag that allows drainage or ventilation when possible. Do not seal a wet rope in a closed bag and leave it stored that way. Once back at the station or equipment cache, remove it, inspect it, clean it if needed, and allow it to dry completely before repacking.
Choosing the Right Rope Bag
The right rope bag depends on rope diameter, rope length, deployment style, and whether the bag needs to carry hardware.
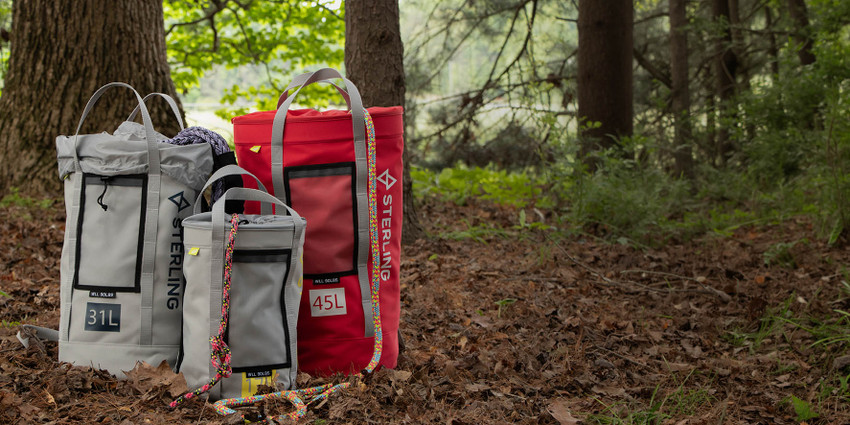
Smaller rope bags are useful for shorter rescue ropes, edge lines, throw lines, or compact kits. Larger rope bags are better for longer life safety ropes and team-based rescue systems. For example, the CMC #1 Rescue Rope Bag has a listed capacity of 100 feet of 1/2 inch rope or 125 feet of 7/16 inch rope, while the CMC #2 Rescue Rope Bag holds up to 200 feet of 1/2 inch rope or 250 feet of 7/16 inch rope.
For teams that need to carry rope and hardware together, the CMC Rope and Equipment Bag is a strong option. It is designed with water-resistant 1,000-denier CORDURA nylon, backpack-style shoulder straps, and space to keep rope rescue equipment organized and ready to deploy.
Product Recommendations
CMC #1 Rescue Rope Bag: A good option for shorter rope lengths, compact rescue kits, and quick deployment setups.
CMC #2 Rescue Rope Bag: A practical mid size rope bag for longer rescue ropes and team response use.
CMC #3 Rescue Rope Bag: A larger option for teams managing longer rope lengths or more demanding rescue setups.
CMC Rope and Equipment Bag: Best for teams that want to keep rope and hardware organized together in one response ready bag.
Courant Host Bag: A useful rope storage option for access and rigging applications, especially where wet rope management and rope organization are important.
Final Thoughts
A rope bag should be packed with deployment in mind, not just storage. For most rescue teams, flaked packing offers the fastest and cleanest rope deployment. Daisy chain packing can still be useful for specific applications, but it is not usually the first choice for rapid rescue response.
The best rope bag is the one that matches the rope length, rope diameter, team workflow, and environment. When rope is inspected, packed correctly, labeled clearly, and stored dry, it is easier to deploy and better protected for the next call.